
CInematics for Games Design 2024
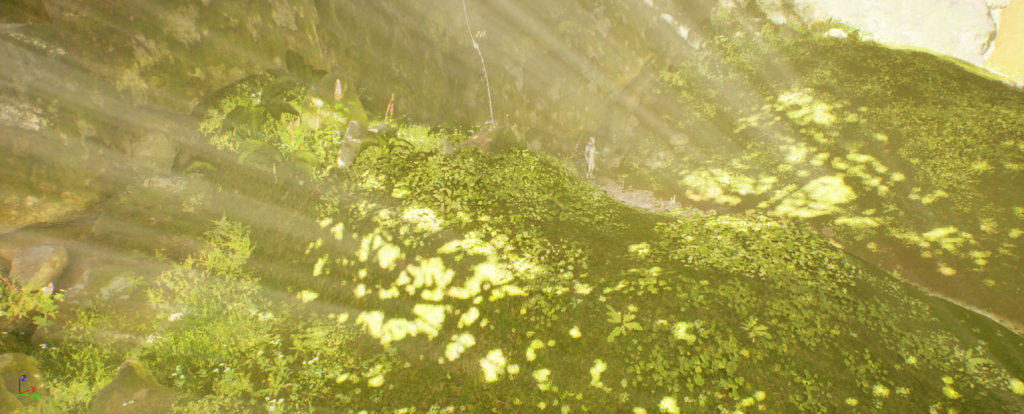
A cinematic made in Unreal Engine 5 over 8 weeks featuring a landscape set in a Norwegian-inspired forest.
Assets used listed at the end.
How it was made
For the assessment I decided to go create a landscape cinematic. The initial idea was to make a Viking themed cinematic set in a fjord and forest in Norway. I was feeling a bit nostalgic at the time of the project and wanted to get this feeling across to the viewer. In the end, the outcome ended up being very different from what I had originally planned.
Brainstorming & planning


As a part of the module I learned how to structure details about the cinematic into tables such as Shot Lists and Overview Tables. By using this I always knew what my different scenes would contain and portray - it made iterations and in-engine work a lot easier as well.


Storyboarding & Prototypes
I made the first version of the storyboard on paper and then proceeded to make the final version in ProCreate and Photoshop. I noted down shot types and descriptions for each shot. I also later revisited the storyboard to note down which colours to use where and considered how this would affect the mood of the scenes.


Before I began working in-engine I put together two quick prototypes using the frames from the storyboard. I tested out the tempo together with two background audios I was considering to use and realised that the length of the cinematic was over a minute. Since this was a student project for a module, I realised that I was over scoping a bit.
As the project progressed and I began working in-engine, I tested out the layouts, camera speeds and angles. I made changes where I felt like things felt a bit awkward or could be improved to better support the final feel of the cinematic.
I reflected on the prototypes and realised that it would be difficult to manage to create such a big cinematic with the time I had left. I went over all the scenes and shots again considering their importance towards the cinematic and their impact, as well as difficulty. I created an overview over which shots to prioritise based on this.

I received feedback shortly after putting this together that I should consider just focusing on even just one of the scenes. If I did that, I would be able to put in more time and effort into a concentrated scene, rather than it being spread thin across a lot of scenes. I was also told that I could have several shots in the same scene, something I at the time realised I had barely done in my initial planning.
With this is mind, I decided to make Scene 3 Shot 2 into its own little cinematic. It was one of the shots with a stronger presence and more interesting layouts. I also felt like I could clearly visualise what it would look like with assets in it.
Creating the scene
The rest of the work was mainly in Unreal Engine where I was constructing the scene using assets I had sourced, doing light effects, and testing camera shots. I also quickly mocked up a new rough storyboard and made another moodboard for vegetation to add more life to the scene. Audio was added in Premiere Pro.


Assets used
To create this cinematic I used a lot of different assets both for the 3D models, textures, and audio. The owners are listed below.
Audio by Freesound and ZapSplat
3D models and textures by Quixel Megascans and PurePolygons